Yoga: Alignment over Depth
If you have attended yoga class at BPY, no doubt you have heard your yoga teacher calling out alignment cues as you move through your practice. These practice cues include “keep your knee over your ankle,” during our low lunges or “roll your shoulders away from your ears” during up dog and are important reminders for keeping the body safe.
Listening for and trying to incorporate these alignments during a slower paced class is much more easily done than during a faster-paced Vinyasa flow or Budokon class, which could cause some of students to overlook alignment and this can contribute to habits that over time can lead to injury.
I am sure you can imagine what years of misaligned chaturangas, warrior poses, and down dogs could do to the low back, shoulders, and wrists if you do not take the time to come into good alignment in each posture.
Part of the gift of yoga is that we get to practice becoming more mindful. Listening for and incorporating alignment cues is an excellent way of keeping ourselves mindful and present in the yoga room – not wandering through the to-do list we have to get to after class. Here are three common yoga injuries and some steps to avoid them:
- The wrists:Have you ever felt like your wrists were screaming during downward facing dog, chaturanga, or plank posture? Coming to table top or taking child’s pose are always available, but as yoga practitioners, we should aim to avoid straining these muscles during our practice and work towards strengthening our wrists. Here’s how:
The next time you’re in a pose, in which your hands bear weight, check to make sure that your fingers are pointed towards the front of your mat. When you are in a posture that requires you to be on your wrists – think finger strength. All ten fingers should feel as though they are pressing into the mat, without any room for air to pass between the mat and your fingers. This allows your body weight to be evenly spread across the palm and fingers instead of the wrists. Another tip is to think about squeezing your thumb and your pinky together. We should put our focus on the area of the palm that lies between the index finger and the thumb. Building from there, students should then work on externally rotating the arm bones. Using these cues, yoga students will build strength in the hands, fingers, forearms and shoulders, which in turn protects the wrists. This process is not easy and can be extremely challenging for new yogis and/or seasoned yogis who have built up some bad habits. It takes mindfulness when you come to these postures – and this starts with the knowledge that the wrists are a joint that we have to actively protect.
- Backbends are not about crunching the low back: Backbending in yoga can place a strain on the low back without proper alignment. Even for beginner yogis, who are not yet taking full wheel or more advanced backbends, your upward dog is still a backbend, and we want to avoid crunching the low back in any pose that requires an arch in the spine. So how do we do that?
In just about every pose, we want to visualize a long low back – think extension! Backbends are about extension and creating room for the breath along the way. Key actions in backbends include lengthening the tailbone by not tucking it. Specifically, we do not want to engage the glutes. They should actually soften. Think of extending and lifting through the chest and the front of the body. Your belly button should be drawing up and in so as to recruit the lower abdominal muscles to support the low back and strengthen the group of muscles designed to support the pelvis. Though these are backbending postures, your back should not be doing all of the work! As Iyengar stated very smartly, “I also say with backbends, you have to be cautiously bold. Not carelessly bold. You have to descend to the dictation of the spine. You cannot command from the brain to do the poses. As you play with a child, guarding the child from injuries, similarly you have to play in backbends, guarding your spine.”
- Knee pain – red alert!:The knees are another common area of injury. Too often, in poses like high lunge we can over bend the knee, which can lead to injuries like torn or over-stretched ligaments. Anyone who has dealt with a rehabilitating a knee injury can relate stories of lengthy recovery times and for some very long-term loss in strength and flexibility. What can we do in our yoga practice to protect the knees?
The best advice, especially for beginners, is to always keep the knee directly over the ankle in any weight-bearing, bent-knee poses like low lunge, crescent pose, and warrior poses. Never bend the knee so deeply that it aligns over the toes. In postures like warrior II, where our hips are moving to open to the side, we need to pay particular attention to the front weight-bearing knee. The knee should be moving away from the midline toward the middle toe of same foot. If you take a peek down, you should be able to see your big toe on the inside of the front knee. Anatomically, our knee joint is designed to flex and straighten in a single plane, that is, move back and forth in a direct line rather than move from side to side. Try visualizing your knee drawing away from the midline in Warrior II and fire up the outer thigh muscles to keep the knee aligned with the hip and ankle. These joints are helping bear the weight.
Our best advice to new yogis and even long-time practicing yogis alike, always, always check your alignment. Alignment over depth is a good motto to live by in yoga. Over time, good alignment in posture leads to the depth and stamina required for more advanced expressions of the posture – and most importantly – it does so while keeping your body parts safer! Further, learning mindfulness on the mat will lead to more mindfulness off the mat, and that yogis is plenty of reward for taking the time to align each posture properly.

You May Also Like

Reading List – The First Five
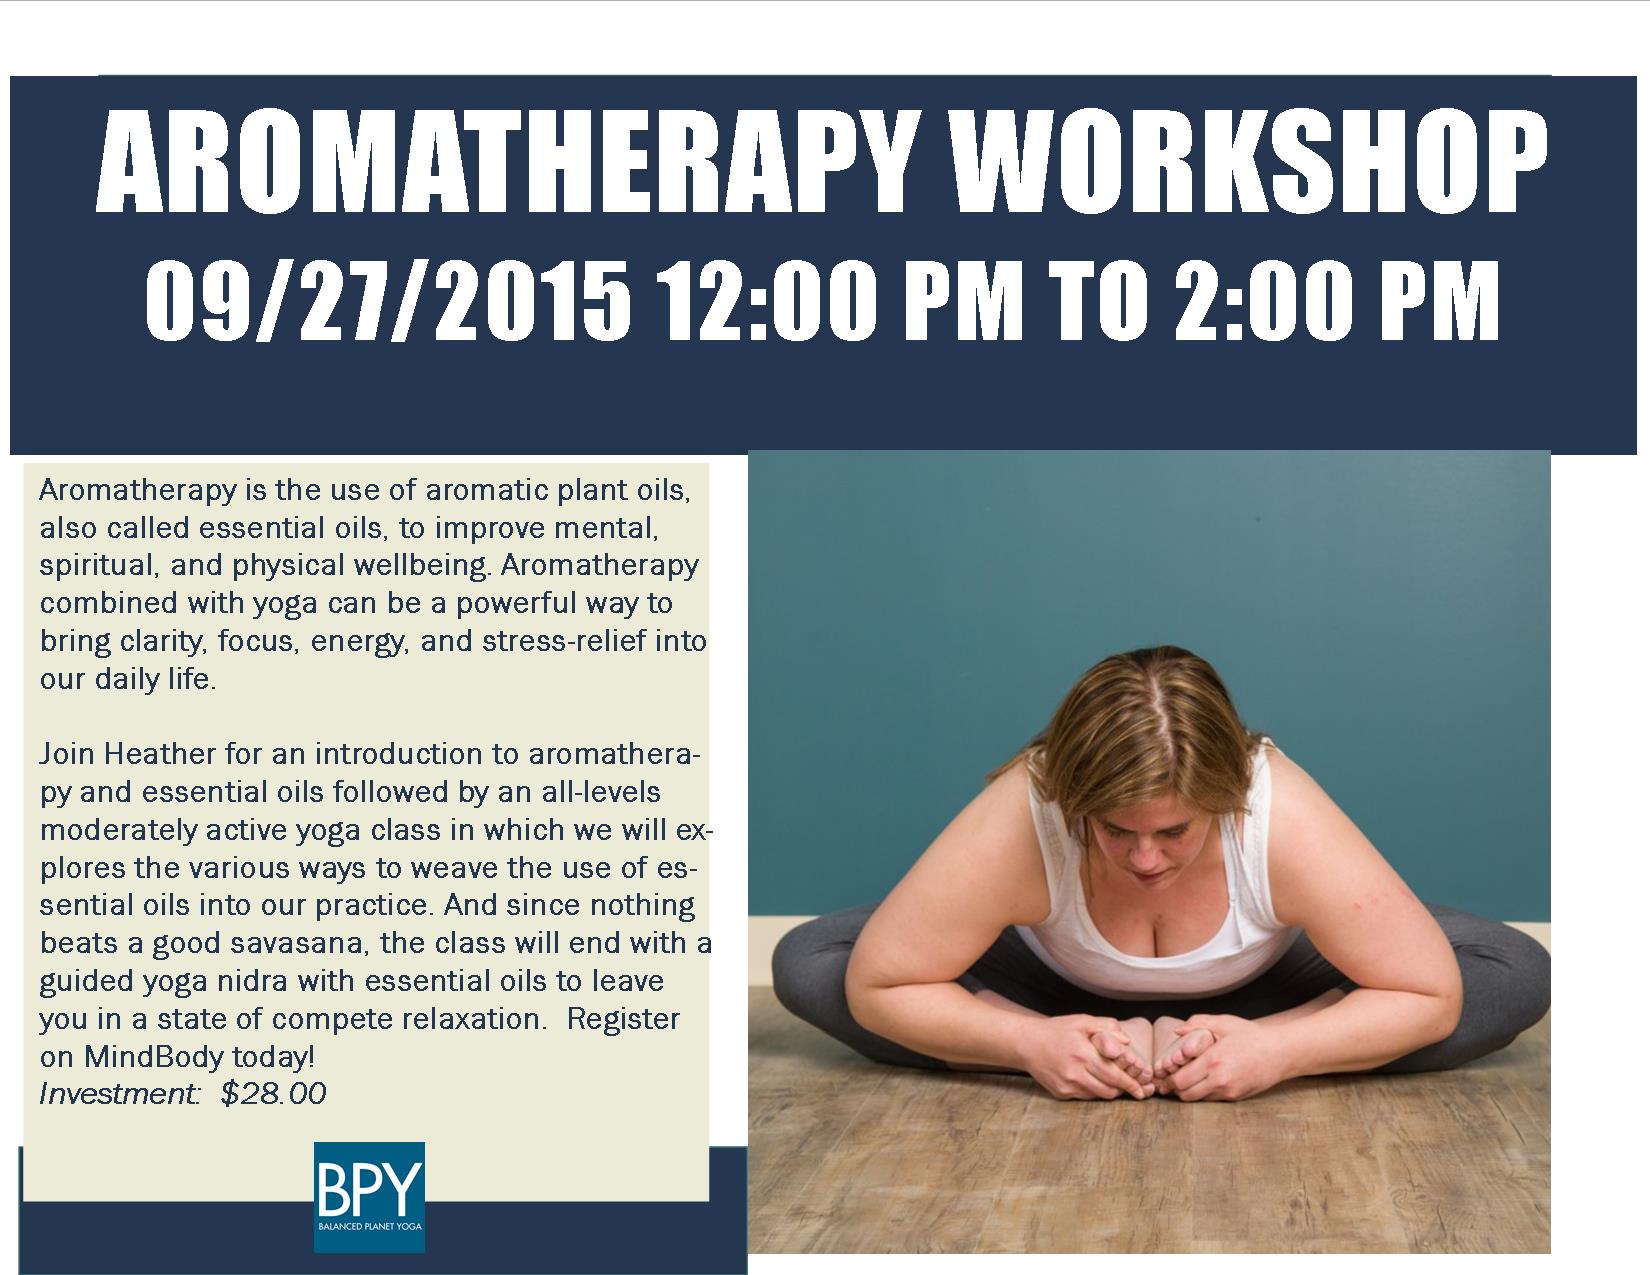
Aromatherapy Workshop Sept 27th 12 noon to 2 pm
